Rendering images with Scenes
Scenes are the construct used to render pictures of meshes in Ascent. A scene description encapsulates all the information required to generate one or more images. Scenes can render mesh data published to Ascent or the result of an Ascent Pipeline. This section of the tutorial provides a few simple examples demonstrating how to describe and render scenes. See Scenes docs for deeper details on Scenes.
Using multiple scenes to render different variables
#include "ascent.hpp"
#include "conduit_blueprint.hpp"

#include "ascent_tutorial_cpp_utils.hpp"

using namespace ascent;
using namespace conduit;

int main(int argc, char **argv)
{

    Node mesh;
    // (call helper to create example tet mesh as in blueprint example 2)
    tutorial_tets_example(mesh);

    // Use Ascent with multiple scenes to render different variables

    Ascent a;

    // open ascent
    a.open();

    // publish mesh to ascent
    a.publish(mesh);

    // setup actions
    Node actions;
    Node &add_act = actions.append();
    add_act["action"] = "add_scenes";

    // declare two scenes (s1 and s2) to render the dataset
    Node &scenes = add_act["scenes"];

    // our first scene (named 's1') will render the field 'var1'
    // to the file out_scene_ex1_render_var1.png
    scenes["s1/plots/p1/type"] = "pseudocolor";
    scenes["s1/plots/p1/field"] = "var1";
    scenes["s1/image_prefix"] = "ascent_output_render_var1";

    // our second scene (named 's2') will render the field 'var2'
    // to the file out_scene_ex1_render_var2.png
    scenes["s2/plots/p1/type"] = "pseudocolor";
    scenes["s2/plots/p1/field"] = "var2";
    scenes["s2/image_prefix"] = "ascent_output_render_var2";

    // print our full actions tree
    std::cout << actions.to_yaml() << std::endl;

    // execute the actions
    a.execute(actions);

    a.close();
}
import conduit
import conduit.blueprint
import ascent
import numpy as np

from ascent_tutorial_py_utils import tutorial_tets_example

mesh = conduit.Node()
# (call helper to create example tet mesh as in blueprint example 2)
tutorial_tets_example(mesh)

# Use Ascent with multiple scenes to render different variables
a = ascent.Ascent()
a.open()
a.publish(mesh)

# setup actions
actions = conduit.Node()
add_act = actions.append()
add_act["action"] = "add_scenes"

# declare two scenes (s1 and s2) to render the dataset
scenes = add_act["scenes"]
# our first scene (named 's1') will render the field 'var1'
# to the file out_scene_ex1_render_var1.png
scenes["s1/plots/p1/type"] = "pseudocolor"
scenes["s1/plots/p1/field"] = "var1"
scenes["s1/image_name"] = "out_scene_ex1_render_var1"

# our second scene (named 's2') will render the field 'var2'
# to the file out_scene_ex1_render_var2.png
scenes["s2/plots/p1/type"] = "pseudocolor"
scenes["s2/plots/p1/field"] = "var2"
scenes["s2/image_name"] = "out_scene_ex1_render_var2"

# print our full actions tree
print(actions.to_yaml())

# execute the actions
a.execute(actions)

a.close()
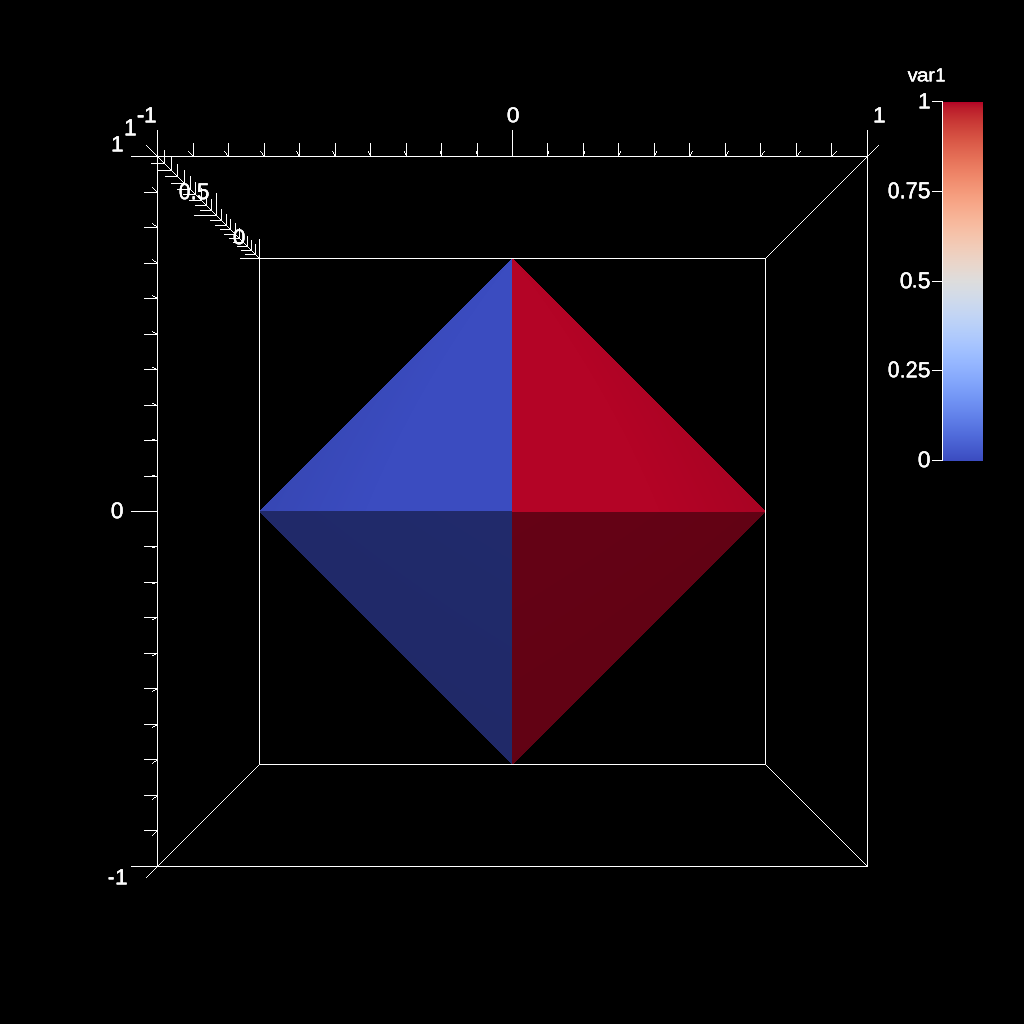
Fig. 5 Render of tets var1 field
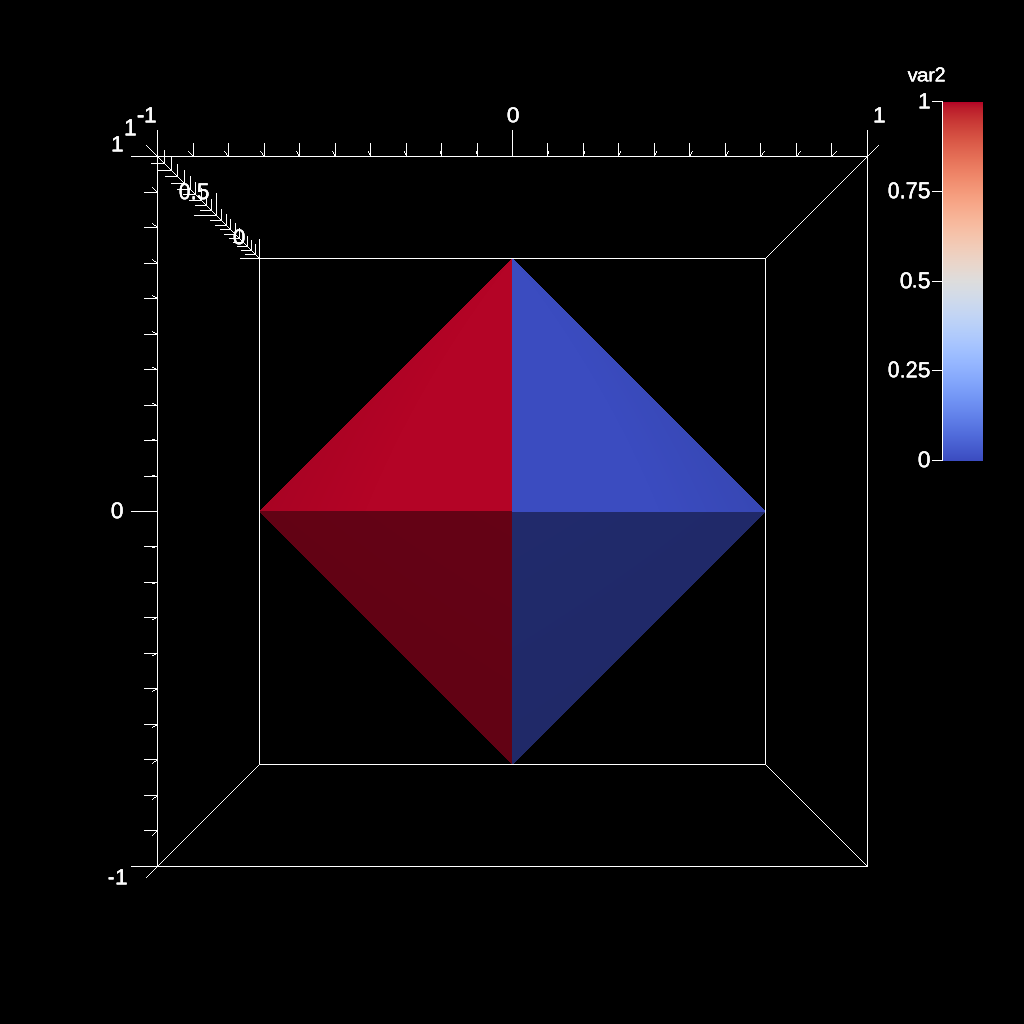
Fig. 6 Render of tets var2 field
Rendering multiple plots to a single image
#include "ascent.hpp"
#include "conduit_blueprint.hpp"

#include "ascent_tutorial_cpp_utils.hpp"

using namespace ascent;
using namespace conduit;

int main(int argc, char **argv)
{
    Node mesh;
    // (call helper to create example tet mesh as in blueprint example 2)
    tutorial_tets_example(mesh);

    // Use Ascent to render multiple plots to a single image

    Ascent a;

    // open ascent
    a.open();

    // publish mesh to ascent
    a.publish(mesh);

    // setup actions
    Node actions;
    Node &add_act = actions.append();
    add_act["action"] = "add_scenes";

    // declare a scene to render the dataset
    Node & scenes = add_act["scenes"];
    // add a pseudocolor plot (`p1`)
    scenes["s1/plots/p1/type"] = "pseudocolor";
    scenes["s1/plots/p1/field"] = "var1";
    // add a mesh plot (`p1`)
    // (experiment with commenting this out)
    scenes["s1/plots/p2/type"] = "mesh";
    scenes["s1/image_prefix"] = "out_scene_ex2_render_two_plots";

    // print our full actions tree
    std::cout << actions.to_yaml() << std::endl;

    // execute the actions
    a.execute(actions);

    a.close();
}
import conduit
import conduit.blueprint
import ascent
import numpy as np

from ascent_tutorial_py_utils import tutorial_tets_example

mesh = conduit.Node()
# (call helper to create example tet mesh as in blueprint example 2)
tutorial_tets_example(mesh)

# Use Ascent to render with views with different camera parameters
a = ascent.Ascent()
a.open()
a.publish(mesh)

# setup actions
actions = conduit.Node()
add_act = actions.append()
add_act["action"] = "add_scenes"

# declare a scene to render the dataset
scenes = add_act["scenes"]
# add a pseudocolor plot (`p1`)
scenes["s1/plots/p1/type"] = "pseudocolor"
scenes["s1/plots/p1/field"] = "var1"
# add a mesh plot (`p1`)
# (experiment with commenting this out)
scenes["s1/plots/p2/type"] = "mesh"
scenes["s1/image_name"] = "out_scene_ex2_render_two_plots"

# print our full actions tree
print(actions.to_yaml())

# execute the actions
a.execute(actions)

a.close()

Fig. 7 Render of two plots to a single image
Adjusting camera parameters
Related docs: Renders (Optional)
#include <iostream>
#include "ascent.hpp"
#include "conduit_blueprint.hpp"

#include "ascent_tutorial_cpp_utils.hpp"

using namespace ascent;
using namespace conduit;

int main(int argc, char **argv)
{
    Node mesh;
    // (call helper to create example tet mesh as in blueprint example 2)
    tutorial_tets_example(mesh);

    // Use Ascent to render with views with different camera parameters

    Ascent a;

    // open ascent
    a.open();

    // publish mesh to ascent
    a.publish(mesh);

    // setup actions
    Node actions;
    Node &add_act = actions.append();
    add_act["action"] = "add_scenes";

    // declare a scene to render the dataset
    Node &scenes = add_act["scenes"];

    //
    // You can define renders to control the parameters of a single output image.
    // Scenes support multiple renders.
    //
    // See the Renders docs for more details:
    // https://ascent.readthedocs.io/en/latest/Actions/Scenes.html#renders-optional
    //

    // setup our scene (s1) with two renders (r1 and r2)
    scenes["s1/plots/p1/type"] = "pseudocolor";
    scenes["s1/plots/p1/field"] = "var1";

    // render a view (r1) with a slight adjustment to camera azimuth
    scenes["s1/renders/r1/image_name"] = "out_scene_ex3_view1";
    scenes["s1/renders/r1/camera/azimuth"] = 10.0;

    // render a view (r2) that zooms in from the default camera
    scenes["s1/renders/r2/image_name"] = "out_scene_ex3_view2";
    scenes["s1/renders/r2/camera/zoom"] = 3.0;

    // print our full actions tree
    std::cout << actions.to_yaml() << std::endl;

    // execute the actions
    a.execute(actions);

    a.close();
}
import conduit
import conduit.blueprint
import ascent
import numpy as np

from ascent_tutorial_py_utils import tutorial_tets_example

mesh = conduit.Node()
# (call helper to create example tet mesh as in blueprint example 2)
tutorial_tets_example(mesh)

# Use Ascent to render with views with different camera parameters

a = ascent.Ascent()
a.open()
a.publish(mesh)

# setup our actions
actions = conduit.Node()
add_act = actions.append()
add_act["action"] = "add_scenes"

# declare a scene to render the dataset
scenes = add_act["scenes"]

#
# You can define renders to control the parameters of a single output image.
# Scenes support multiple renders.
#
# See the Renders docs for more details:
# https://ascent.readthedocs.io/en/latest/Actions/Scenes.html#renders-optional
#

# setup our scene (s1) with two renders (r1 and r2)
scenes["s1/plots/p1/type"] = "pseudocolor"
scenes["s1/plots/p1/field"] = "var1"

# render a view (r1) with a slight adjustment to camera azimuth
scenes["s1/renders/r1/image_name"] = "out_scene_ex3_view1"
scenes["s1/renders/r1/camera/azimuth"] = 10.0

# render a view (r2) that zooms in from the default camera
scenes["s1/renders/r2/image_name"] = "out_scene_ex3_view2"
scenes["s1/renders/r2/camera/zoom"] = 3.0

# print our full actions tree
print(actions.to_yaml())

# execute the actions
a.execute(actions)

a.close()
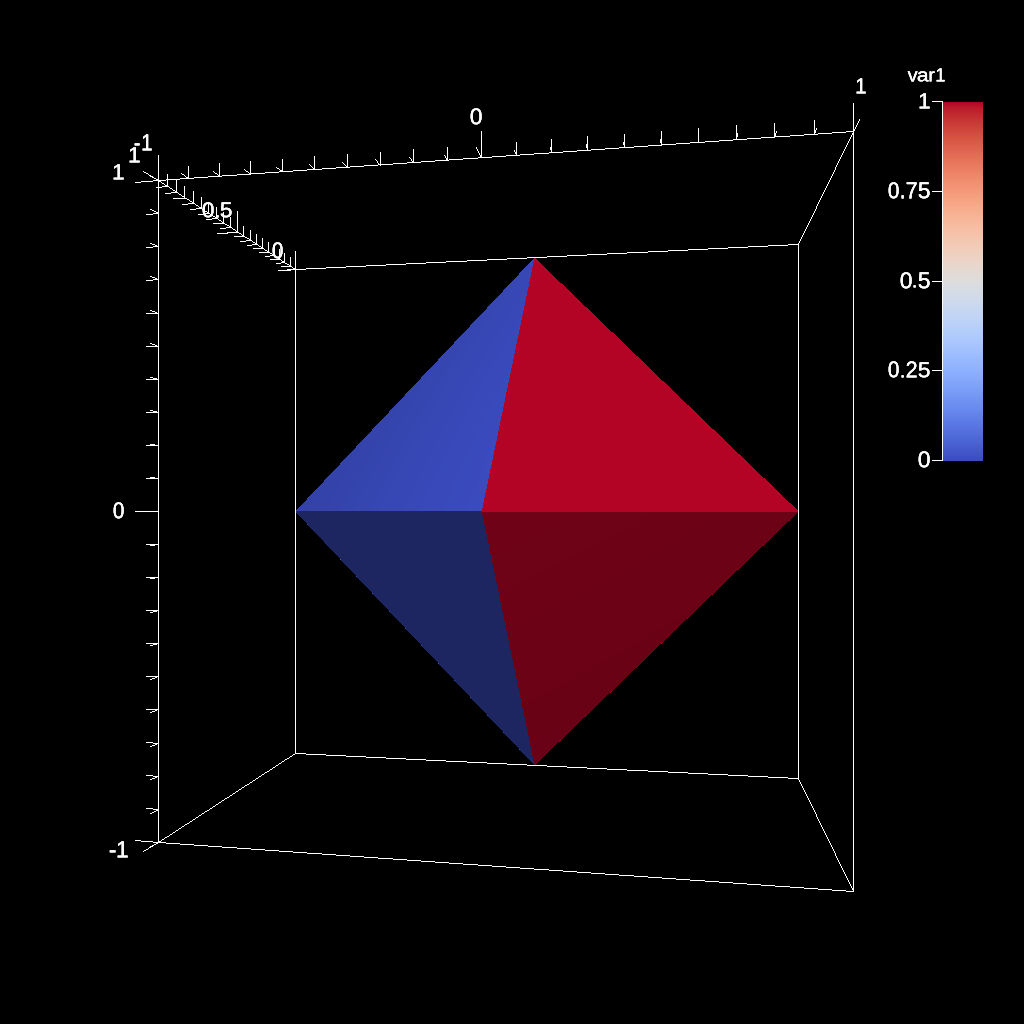
Fig. 8 Render with an azimuth change

Fig. 9 Render with a zoom
Changing the color tables
Related docs: Color Tables
#include <iostream>
#include "ascent.hpp"
#include "conduit_blueprint.hpp"

#include "ascent_tutorial_cpp_utils.hpp"

using namespace ascent;
using namespace conduit;

int main(int argc, char **argv)
{
    Node mesh;
    // (call helper to create example tet mesh as in blueprint example 2)
    tutorial_tets_example(mesh);

    // Use Ascent to render pseudocolor plots with different color tables

    Ascent a;

    // open ascent
    a.open();

    // publish mesh to ascent
    a.publish(mesh);

    // setup actions
    Node actions;
    Node &add_act = actions.append();
    add_act["action"] = "add_scenes";

    //
    // declare a two scenes (s1 and s2) to render the dataset
    // using different color tables
    //
    // See the Color Tables docs for more details on what is supported:
    // https://ascent.readthedocs.io/en/latest/Actions/Scenes.html#color-tables
    //
    Node &scenes = add_act["scenes"];

    // the first scene (s1) will render a pseudocolor
    // plot using Viridis color table
    scenes["s1/plots/p1/type"] = "pseudocolor";
    scenes["s1/plots/p1/field"] = "var1";
    scenes["s1/plots/p1/color_table/name"] = "Viridis";
    scenes["s1/image_name"] = "out_scene_ex4_render_viridis";

    // the first scene (s2) will render a pseudocolor
    // plot using Inferno color table
    scenes["s2/plots/p1/type"] = "pseudocolor";
    scenes["s2/plots/p1/field"] = "var1";
    scenes["s2/plots/p1/color_table/name"] = "Inferno";
    scenes["s2/image_name"] = "out_scene_ex4_render_inferno";

    // print our full actions tree
    std::cout << actions.to_yaml() << std::endl;

    // execute the actions
    a.execute(actions);

    a.close();
}
import conduit
import conduit.blueprint
import ascent
import numpy as np

from ascent_tutorial_py_utils import tutorial_tets_example

mesh = conduit.Node()
# (call helper to create example tet mesh as in blueprint example 2)
tutorial_tets_example(mesh)

# Use Ascent to render pseudocolor plots with different color tables
a = ascent.Ascent()
a.open()
a.publish(mesh)

# setup actions
actions = conduit.Node()
add_act = actions.append()
add_act["action"] = "add_scenes"

# declare a two scenes (s1 and s2) to render the dataset
# using different color tables
#
# See the Color Tables docs for more details on what is supported:
# https://ascent.readthedocs.io/en/latest/Actions/Scenes.html#color-tables
#
scenes = add_act["scenes"]

# the first scene (s1) will render a pseudocolor
# plot using Viridis color table
scenes["s1/plots/p1/type"] = "pseudocolor"
scenes["s1/plots/p1/field"] = "var1"
scenes["s1/plots/p1/color_table/name"] = "Viridis"
scenes["s1/image_name"] = "out_scene_ex4_render_viridis"

# the first scene (s2) will render a pseudocolor
# plot using Inferno color table
scenes["s2/plots/p1/type"] = "pseudocolor"
scenes["s2/plots/p1/field"] = "var1"
scenes["s2/plots/p1/color_table/name"] = "Inferno"
scenes["s2/image_name"] = "out_scene_ex4_render_inferno"

# print our full actions tree
print(actions.to_yaml())

# execute the actions
a.execute(actions)

a.close()
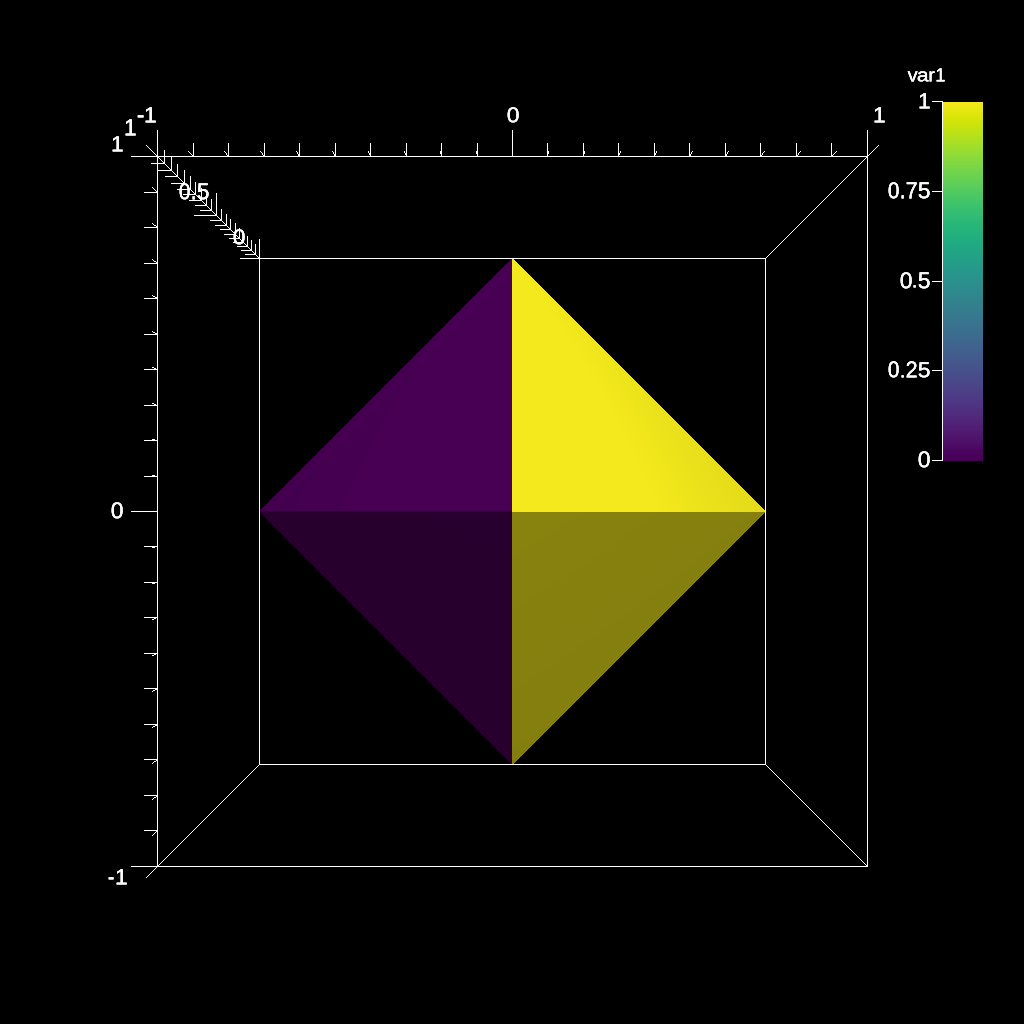
Fig. 10 Render with Viridis Color table
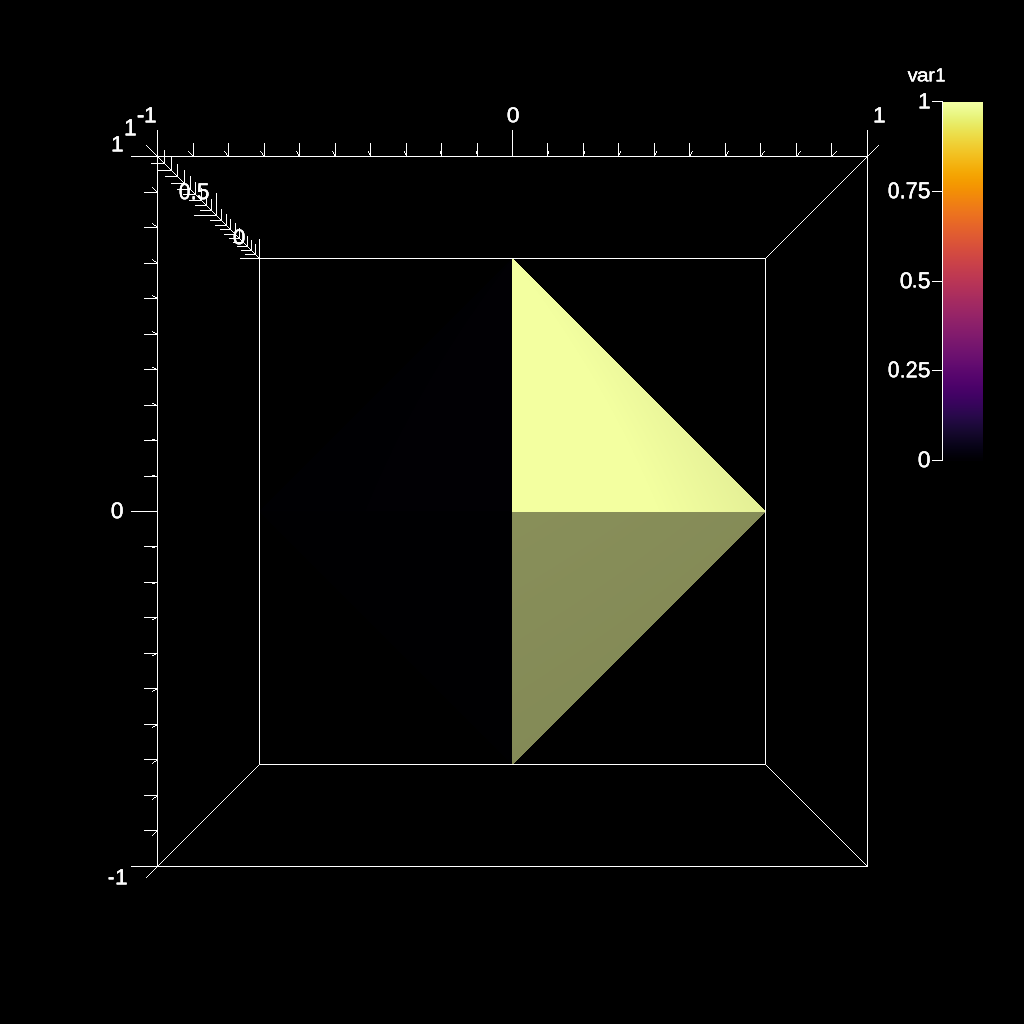
Fig. 11 Render with Inferno Color table